Adding a homepage popup image OnlineXpress templates
Anabel Fernandez · Updated May 13, 2026

This guide explains how to create a pop-up that displays on your travel agency website’s home page using the admin panel (admin.travelagencytribes.com). The pop-up is created as a Photo content type and made visible on the home page by applying the “pop-up” tag.
What You’ll Need
- Admin access to admin.travelagencytribes.com
- A cover image for the popup (JPG, PNG, up to 8MB)
- A title for the pop-up (e.g. “Special Event”)
- A destination URL for the pop-up link
Step 1: Open the Create Content Popup
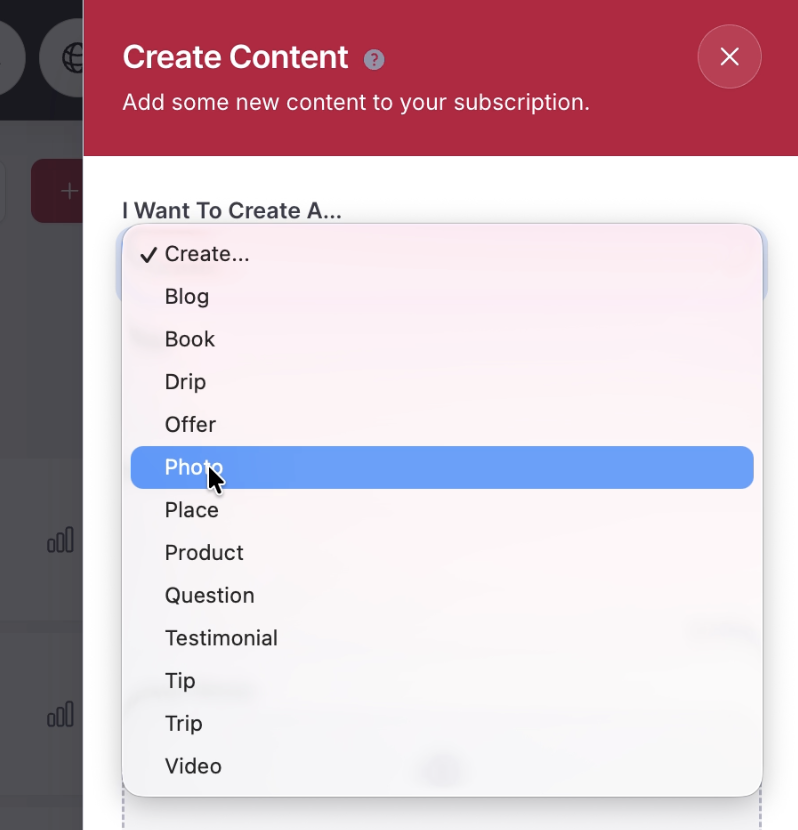
From the Content page, click the red “Create” button in the top-right area of the screen. A “Create Content” panel will slide in from the right side.

In the “I Want To Create A…” dropdown, select “Photo” from the list of content types.
Step 2: Fill in the Title
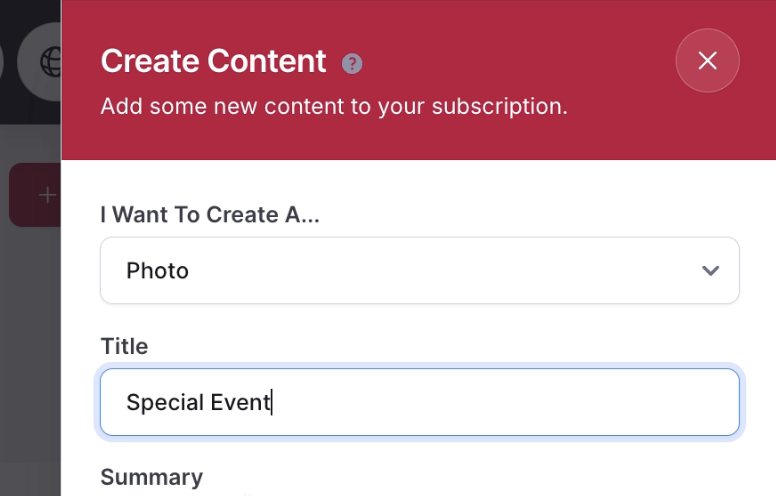
After selecting “Photo”, the form expands to show a Title field. Enter a descriptive title for your popup (for example, “Special Event”).
Step 3: Upload a Cover Photo
In the Cover Photo section, click the upload area (or drag and drop a file) to add the pop-up’s background image. Accepted formats are JPG, PNG, up to 8MB.
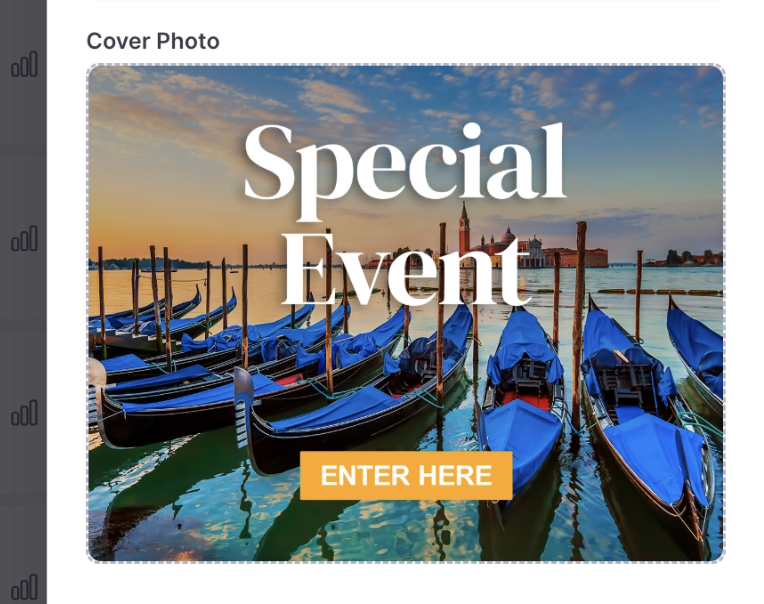
Tip: Prepare an image with the contest title and a call to action (for example, "enter here")
Step 4: Click Create to Open the Full Editor
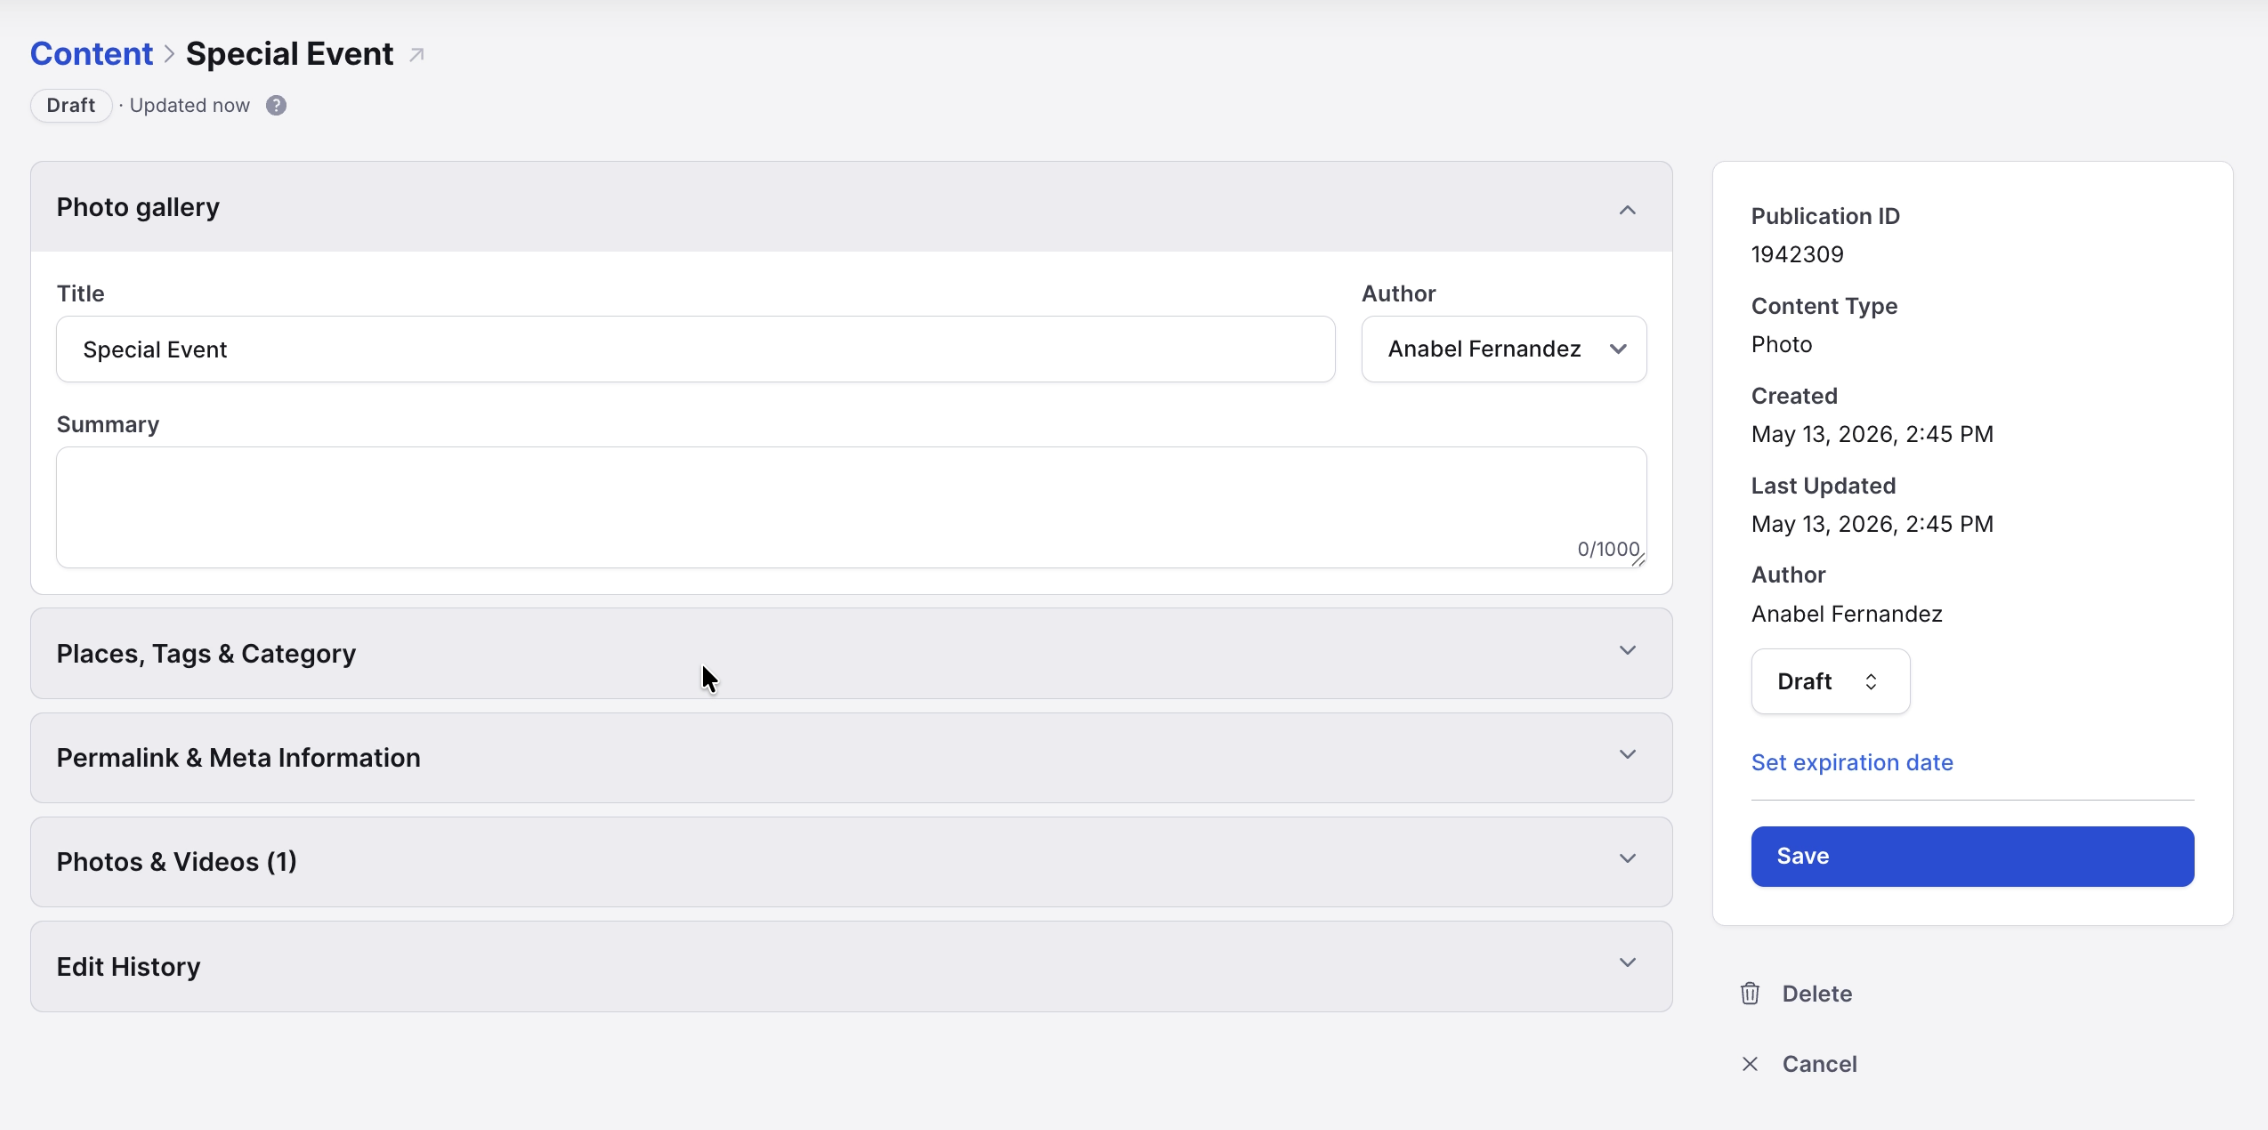
Click the red “Create” button at the bottom of the panel. The system will create the content record and open the full content editor page. A green “Content successfully created” notification will appear at the top.
The content editor shows all available fields organized in sections
Note: Do not need to add any content inside the body section
Step 5: Add the “popup” Tag
Scroll down to the “Places, Tags & Category” section. You will see pre-existing tags already assigned (such as agency_groups, all_inclusive, cruise, etc.). In the “Additional Tags” field below those tags, type “popup” and press Enter.
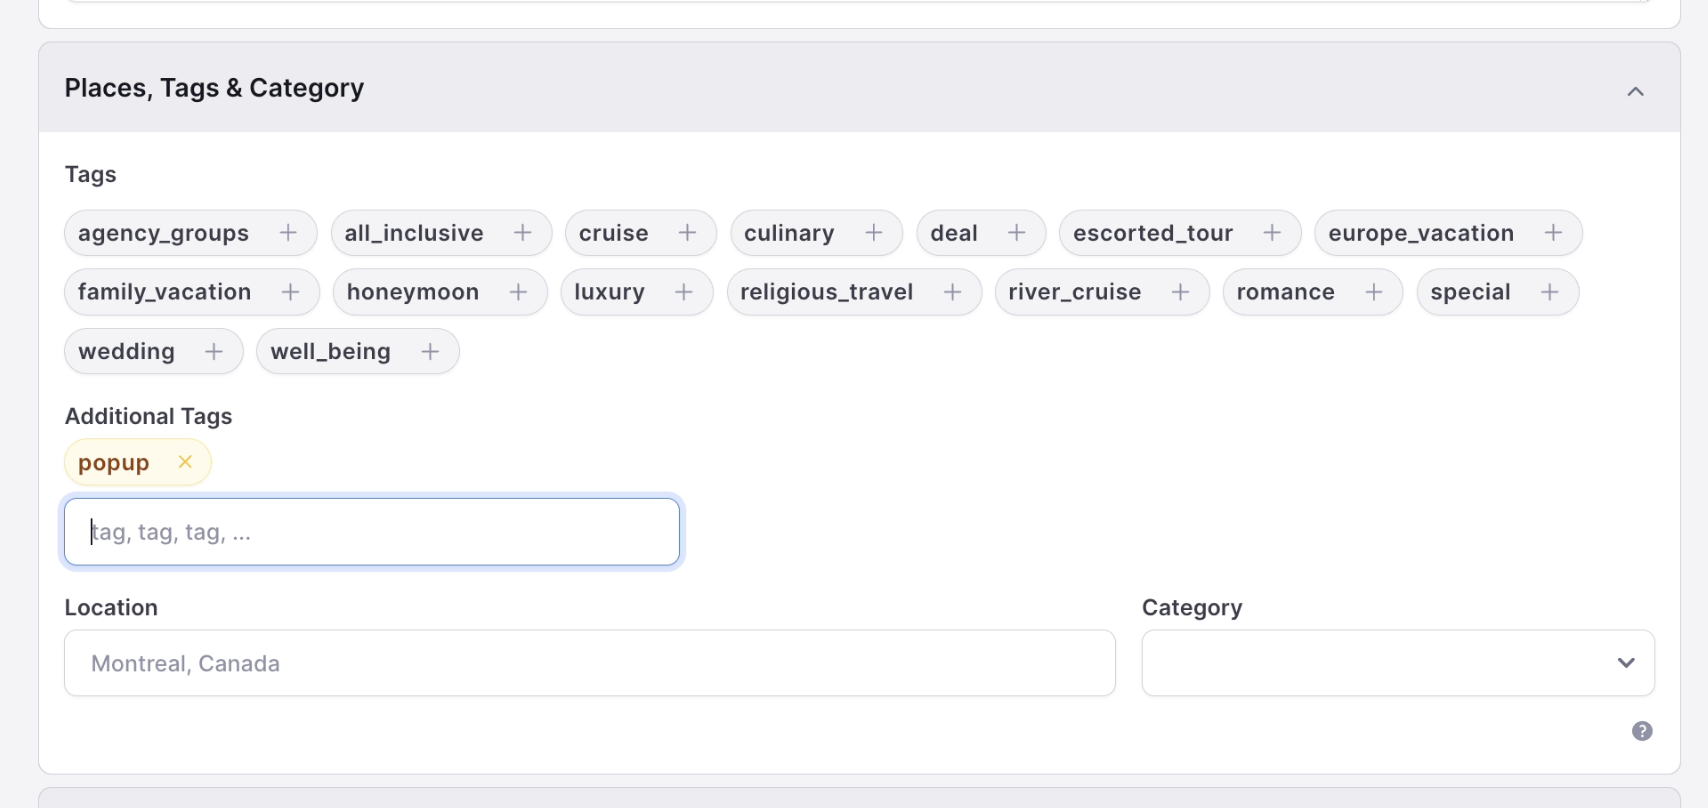
The “pop-up” tag is what tells the website to display this content as a pop-up on the home page. Without this tag, the content will be created but will not appear as a pop-up.
Tip: The "popup" tag is case-sensitive. Make sure to type it exactly as shown: popup (all lowercase).
Step 6: Set the Permalink and Link to Other Site
Expand the “Permalink & Meta Information” section. You will see:
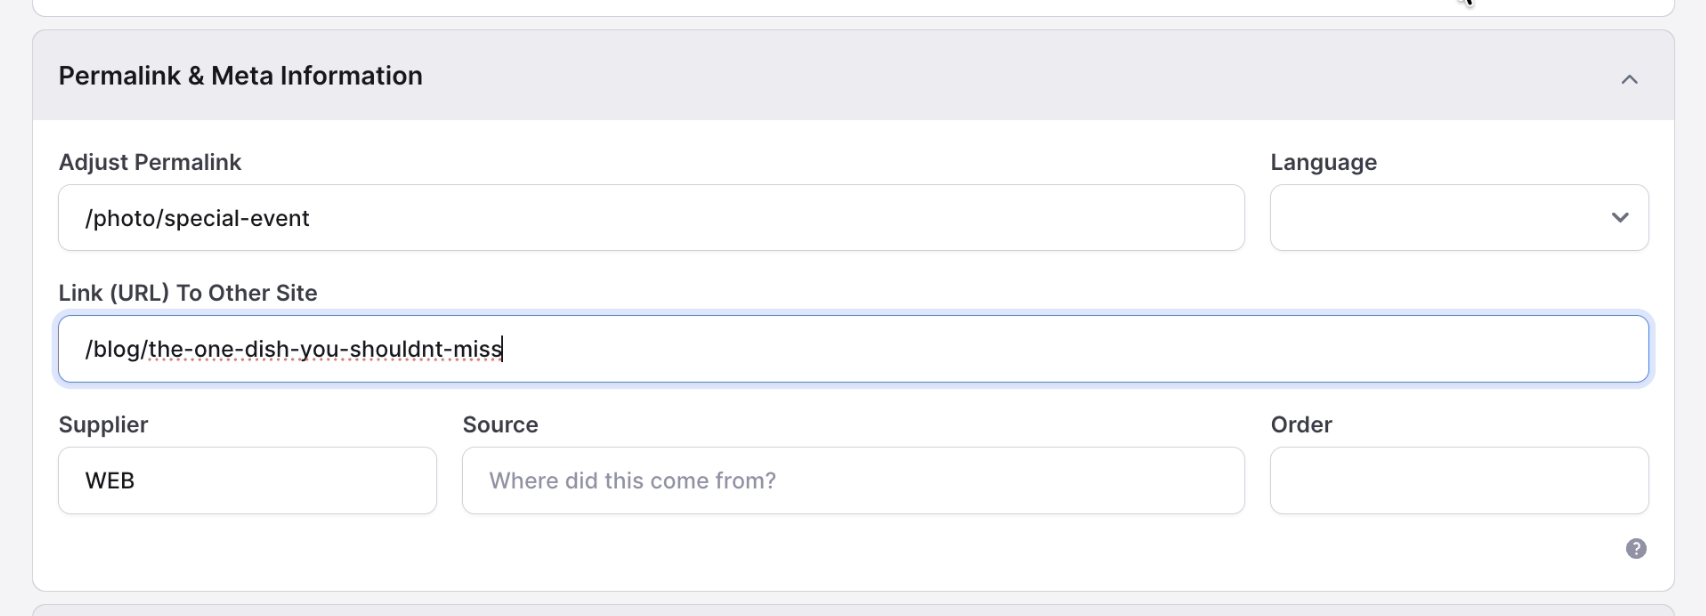
“Adjust Permalink” — automatically set based on the title (e.g. /photo/special-event). You may leave this as-is.
“Link (URL) To Other Site” — enter the URL that the pop-up will link to. If the link is an internal page do not need to add the whole domain, just the permalink. For example: /blog/the-one-dish-you-shouldnt-miss
Step 7: Change Status to Active
In the right sidebar, find the Status dropdown (it currently shows “Draft”). Change it to “Active”. This publishes the pop-up content and makes it live on the website.

Once the status is Active and you click “Save”, a green “Content successfully saved” notification will confirm the change.
Step 8: Set an Expiration Date (Recommended)
If you want the pop-up to automatically stop appearing after a certain date, click “Set expiration date” in the right sidebar. A date picker calendar will appear.
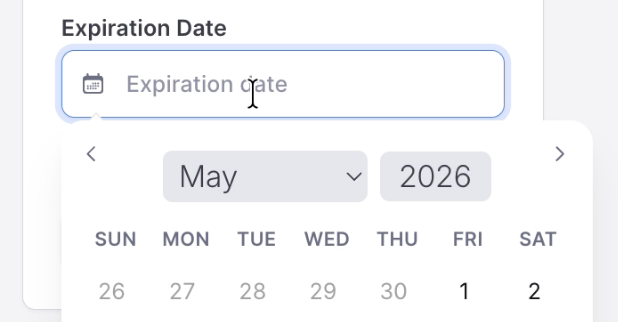
Click on the desired expiration date in the calendar. The content will automatically move to an inactive state after that date, removing the pop-up from the home page.
Tip: Setting an expiration date is recommended for time-limited promotions so you don't need to remember to manually deactivate the popup.
Step 9: Verify the Popup on the Website
Navigate to your public website (e.g. travelsavers4us.gttwl2.com) to confirm the popup is displaying correctly. The popup will appear as a modal overlay on top of the home page hero image.
Quick Reference Summary
Troubleshooting
Popup not showing on the home page
- Verify the “popup” tag was added in the Additional Tags field (not the main Tags field).
- Confirm the content Status is set to “Active” and has been saved.
- Check that the expiration date (if set) has not already passed.
- Try a hard refresh in the browser (Ctrl+Shift+R or Cmd+Shift+R).
Link goes to the wrong page
- Go back to the content editor and check the “Link (URL) To Other Site” field in the Permalink & Meta Information section.
- Make sure the URL is correct.
Cover photo not displaying correctly
- Ensure the image is in PNG, JPG, or GIF format and is under 8MB.
- For best results, use a landscape-oriented image at least 800px wide.